What is SPI3 and How to Write Code in SPI3 (3-Wire SPI)
- 30 Jan, 2026
Many hobby displays work on SPI, but when you see “SPI3” written in a display datasheet, it can be confusing. Is it SPI mode 3? Is it 3 MHz? In most character OLED modules, SPI3 simply means 3-wire SPI—a serial interface that uses fewer pins than the common 4-wire SPI. In this guide, we’ll explain SPI3 clearly, show the 10-bit write format used by many character OLED controllers, and build practical code that runs on an Uno R3 DIP Microcontroller Board Arduino.
What is SPI3?
SPI3 is commonly used to describe 3-wire SPI. In normal SPI for displays, you often see 4 wires: SCK (clock), MOSI (data), CS (chip select), and D/C (data/command). SPI3 removes the separate D/C wire. Instead, the display expects command/data information inside the serial stream as extra bits (often called RS and RW).
- SPI3 (3-wire SPI): SCK + SDI (data) + CS
- SPI4 (4-wire SPI): SCK + MOSI + CS + D/C
This becomes very useful when you’re short on I/O pins, or when you want a simpler wiring harness for embedded builds.
SPI3 vs SPI4: Main Differences
Both interfaces use a clock and a data line, but they differ in how the display knows whether you’re sending a command (like “clear screen”) or sending data (characters/pixels).
- SPI4: You toggle a D/C pin to select Command or Data.
- SPI3: The first bits of each transfer include “RS/RW” (or similar), then the 8-bit value follows.
- Library support: SPI4 is more common, so libraries are easier; SPI3 often needs custom code.
- Pin count: SPI3 uses fewer pins, helpful for compact projects.
Where SPI3 is Used (Common Modules)
SPI3 is frequently found in character OLED controllers that are HD44780/WS0010 compatible. A popular example is a 16x2 1602 Character OLED Display that supports serial mode. These modules often provide multiple interface options (parallel, I2C, SPI4, SPI3), but SPI3 stands out because of the “10-bit write” pattern.
Why Arduino UNO R3 DIP is a Great Match
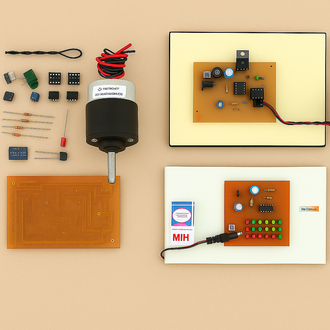
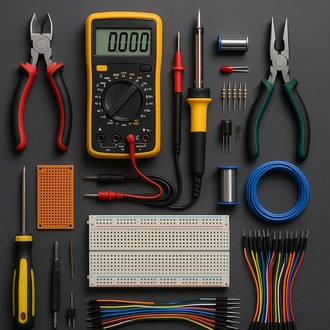
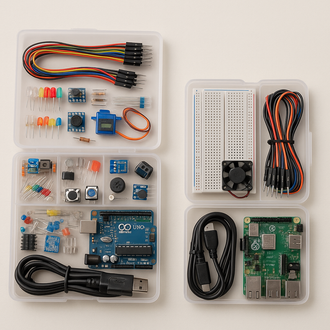
The Uno R3 DIP Microcontroller Board Arduino is widely used for display projects because it’s stable, beginner-friendly, and has easy pin mapping for SPI lines (D13 clock and D11 data). If you want a reliable UNO for display experiments and serial protocols, you can check the internal product page here: Uno R3 Compatible with Arduino Cable.
SPI3 Wiring (3-Wire) for UNO
In SPI3, you typically connect only three control lines plus power:
- SCL / SCK: Clock (UNO D13)
- SDI / DIN: Data to display (UNO D11)
- CSB / CS#: Chip select (UNO D10 or any digital pin)
- VSS: Ground
- VDD/VCC: Power (as per display rating)
Note: Some modules also provide RST# (reset). SPI3 can work without it on many modules, but reset makes startup more reliable.
The SPI3 10-Bit Write Frame (Most Important)
A lot of SPI3 character OLED modules expect a “10-bit frame” on every write:
- Bit 1: RS (0 = command, 1 = data)
- Bit 2: RW (0 = write, 1 = read; most projects use write only)
- Bits 3–10: D7..D0 (the 8-bit command or character)
That means even though the display is “SPI,” you’re not simply sending 8-bit bytes. You send 2 extra control bits first, then 8 bits of payload. This is why standard SPI libraries don’t always work directly—many will only transfer 8 bits at a time.
Why Bit-Banging is Common in SPI3
The Arduino hardware SPI peripheral is designed for 8-bit transfers (or sometimes 16-bit with special settings). But SPI3 needs 10-bit patterns, and different modules interpret timing differently. So many makers use bit-banging:
- You manually toggle clock LOW/HIGH
- You manually set the data pin per bit
- You control small delays to match the display’s timing
This approach is slower than hardware SPI, but it’s very reliable for character OLED modules.
Core SPI3 Code Structure (Concept)
SPI3 code usually has three key parts:
- Clock pulse function: Generates one clock pulse per bit
- spiWrite10 function: Sends RS + RW + 8 data bits
- High-level functions: write command, write data, init, clear, print text
// [RS][RW][D7..D0]
writeCommand(0x01);  // clear
writeCommand(0x80);  // set DDRAM to line 1
writeData('H'); writeData('i');
SPI3 Initialization for Character OLED (WS0010/HD44780 Style)
Most 16x2 1602 Character OLED Display modules follow a familiar init sequence:
- Function set: 2-line, 5x8 font (often 0x28)
- Display control: display ON/OFF, cursor (0x0C is common)
- Entry mode: cursor moves forward (0x06)
- Clear + Home: clear (0x01) and home (0x02)
The key difference is: each command is sent using SPI3’s 10-bit frame (RS=0, RW=0).
How to Write Text in SPI3 (Practical Method)
Character displays have fixed columns. For 16x2, each line has 16 blocks (characters). A clean method is to always write exactly 16 characters per line, padding with spaces. This prevents leftover characters from old text.
- Line 1 start address: 0x80
- Line 2 start address: 0xC0
- Write characters: send ASCII as data (RS=1)
Example Project: UNO + SPI3 OLED (Two Screens)
A common demo is to show two screens alternately—useful for counters, menu screens, or simple UI displays. On UNO R3, you can:
- Initialize the OLED once at startup
- Write screen A (two lines)
- Wait (e.g., 2–3 seconds)
- Write screen B (two lines)
- Repeat using a small state machine
This is exactly how many election counters, meter displays, and DIY dashboards are built.
Common SPI3 Problems and Fixes
If your display shows blank, garbage characters, or flicker, check these first:
- Wrong interface mode: Some modules need jumpers/solder pads set to SPI3.
- Clock too fast: Increase delay between clock edges in bit-banging.
- CS timing: Keep CS low during the full 10-bit transfer.
- Wrong addressing: Use 0x80 for line 1 and 0xC0 for line 2 (common mapping).
- Power level: Ensure VCC and logic levels match module requirements.
Why Choose SPI3 for DIY Builds?
SPI3 is a practical option when you want to save pins and keep wiring clean. It’s especially useful for compact projects where the UNO is already using many pins for sensors, buttons, relays, or motor drivers. With SPI3, your 16x2 1602 Character OLED Display can run using only three control pins, keeping your build neat and easy to troubleshoot.
Recommended Setup (Fast Checklist)
- Board: Uno R3 DIP Microcontroller Board Arduino
- Display: 16x2 character OLED in SPI3 mode
- Pins: CS=D10, SDI=D11, SCL=D13
- Code: 10-bit SPI3 write (RS/RW + 8-bit)
Conclusion
SPI3 (3-wire SPI) is a simple, pin-saving serial interface used by many character OLED displays. The main difference from SPI4 is that SPI3 carries command/data selection inside the serial frame using RS/RW bits. Once you understand the 10-bit write format and build a reliable bit-bang function, writing text and switching screens becomes easy—even on an Arduino UNO.
If you’re building display projects with an UNO, start with a stable board and clean wiring. For a dependable UNO setup, check the internal product page: Uno R3 Compatible with Arduino Cable.