Integrating Ultrasonic Sensors with Arduino: A Step-by-Step Guide
- 24 Oct, 2025
Sound waves can be used to measure distance, which may sound like something from the future, but it's one of the simplest and most useful technologies for robotics and automation. Ultrasonic sensors are very important for finding obstacles, helping with parking, and automating factories because they use sound to find things and measure distances. This guide will show you how to connect an Ultrasonic Sensor and Arduino, explain how it works and how to connect it, and give you some hands-on experience with arduino coding for ultrasonic sensor projects.
How Ultrasonic Sensors Work
An ultrasonic sensor works by using echolocation, which is the same way that bats and submarines find things. It sends out a sound pulse at a high frequency and then measures how long it takes for the echo to come back after hitting something.
- Trigger Pin: Sends a sound pulse.
- Echo Pin: Gets the pulse that bounces back.
- Power Pins: VCC and GND are used to connect to the power supply.
Then, the sensor uses the formula Distance = (Time × Speed of Sound) / 2 to figure out how far away the object is. This measurement is accurate, quick, and great for systems that run on their own.
Why should you connect an Arduino to an ultrasonic sensor?
Arduino microcontrollers make it easy and cheap to work with sensor data. You can quickly make things like automatic water dispensers, robots that can find objects, or distance measuring devices by putting an Ultrasonic Sensor and Arduino together.
- Easy to integrate: little wiring and simple code.
- Lots of help: There are libraries and examples online.
- Correct Readings: It can measure distances from a few centimeters to several meters.
- Cost-Effective: Good for projects that are DIY or STEM.
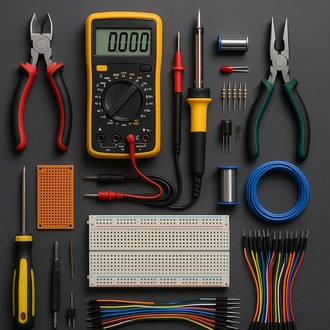
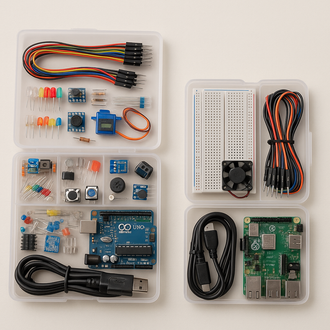
Parts
Arduino Uno or any other board that works with it
Ultrasonic sensor HC-SR04 Breadboard and jumper wires
USB cable for writing code
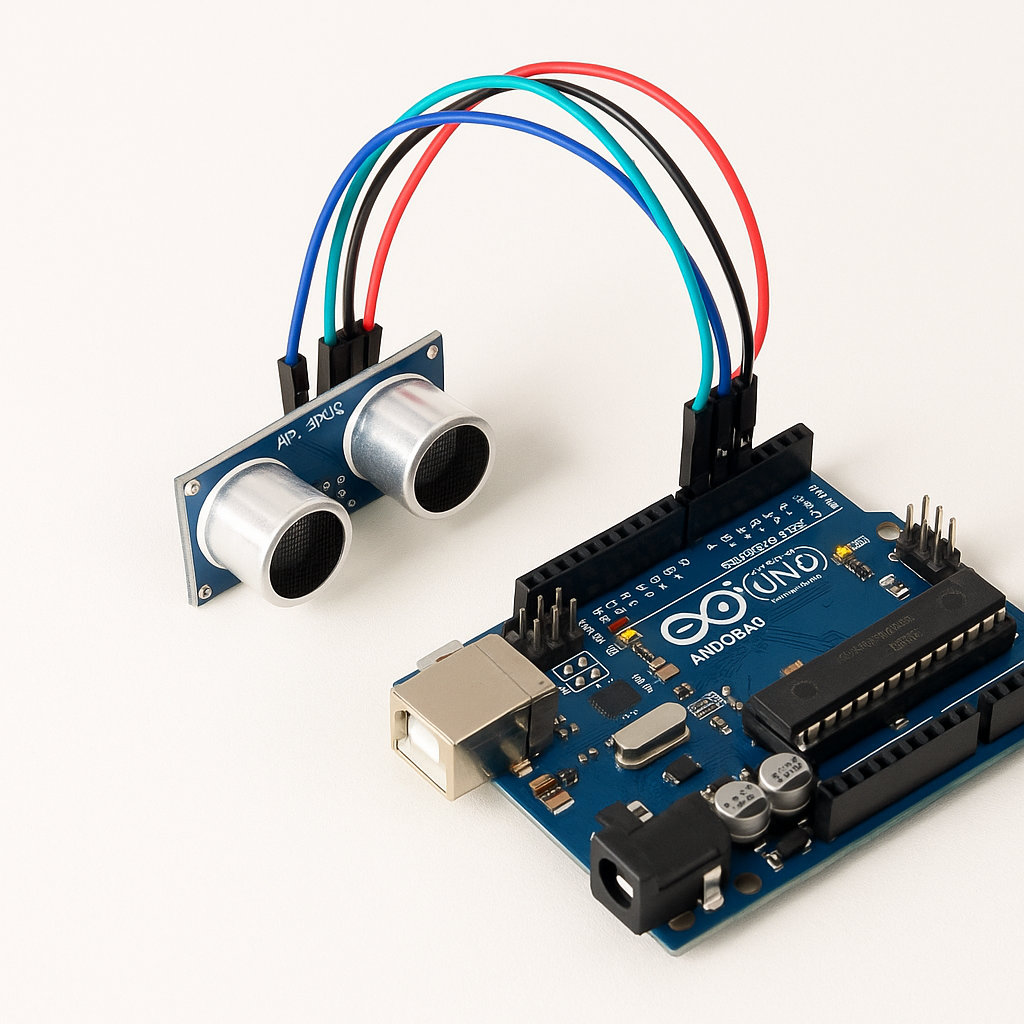
How to connect the Ultrasonic Sensor to Arduino
Here's how to hook up your HC-SR04 sensor to an Arduino:
- VCC goes to 5V on the Arduino,
- GND goes to GND,
- Trig goes to Digital Pin 9,
- Echo goes to Digital Pin 10.
You can test your setup by uploading the Ultrasonic Sensor with Arduino code once it is connected.
Writing code for an ultrasonic sensor using arduino
Here is a simple example of arduino coding for ultrasonic sensor that measures distance and shows it on the Serial Monitor:
// Example Code: Using an Arduino to read an ultrasonic sensor
const int trigPin = 9;
const int echoPin = 10;
long duration;
int distance;

void setup() {
  pinMode(trigPin, OUTPUT);
  pinMode(echoPin, INPUT);
  Serial.begin(9600);
}

void loop() {
  digitalWrite(trigPin, LOW);
  delayMicroseconds(2);
  digitalWrite(trigPin, HIGH);
  delayMicroseconds(10);
  digitalWrite(trigPin, LOW);

  duration = pulseIn(echoPin, HIGH);
  distance = duration * 0.034 / 2;

  Serial.print("Distance: ");
  Serial.print(distance);
  Serial.println(" cm");
  delay(500);
}
This basic Arduino-based ultrasonic sensor using arduino can measure distances and show the results in centimeters. You can change it so that it turns on LEDs, buzzers, or motors when certain distances are reached.
Testing and Fixing
Check these things if the sensor doesn't give you the right results:
- Make sure the wiring between the trigger and echo pins is right.
- Use the right power supply (5V is best).
- Look for surfaces that are matte; they reflect sound better.
- If you need to, change the timing delays to make sure they are correct.
Using an Ultrasonic Sensor with Arduino to Avoid Obstacles
- Robots: Use real-time distance data to find and avoid things in their way.
- Smart Parking Systems: Help you park by measuring how far away you are from walls or cars.
- Liquid Level Measurement: Check the water level in a tank without touching it.
- Automatic Door Systems: Open the door when someone gets close.
- Smart trash bins can tell how full they are and make trash collection more efficient.
Advanced Projects That Use Ultrasonic Sensors
Once you know how to use basic distance sensors, you can try more advanced things like:
- Servo-controlled scanning radar: Attach your sensor to a servo motor to see things in real time.
- IoT distance monitor: Use Wi-Fi or Bluetooth modules to send distance information to your phone.
- Multi-sensor systems: Use more than one ultrasonic sensor to map the environment in all directions.
How to Get More Accurate
- For accurate reflection, keep the sensor at a right angle to the object.
- Use a power source that doesn't change voltage levels.
- Calibrate in your own space because temperature and humidity can change the speed of sound.
In conclusion
One of the best beginner projects for electronics fans is to combine an Ultrasonic Sensor and Arduino. You learn how to measure distance and time, and you also build the skills you need to work with robotics and automation systems. You can build smart devices, work on new projects, and learn more about electronics in the real world by using Arduino setups to experiment with ultrasonic sensor using arduino.
Are you ready to get started on your project? At KitsGuru, you can find high-quality Ultrasonic Sensors and Arduino-compatible modules that will help you make your ideas a reality.