Intelligent Tracking Car DIY Kit

![DIY kit]()
![STEM Education]()
![Intelligent Tracking Car DIY Kit]()
![Intelligent Tracking Car DIY Kit]()
![DIY kit]()

![STEM Education]()

![Intelligent Tracking Car DIY Kit]()
![Intelligent Tracking Car DIY Kit]()
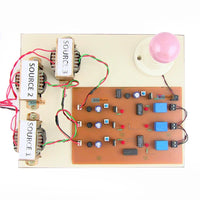
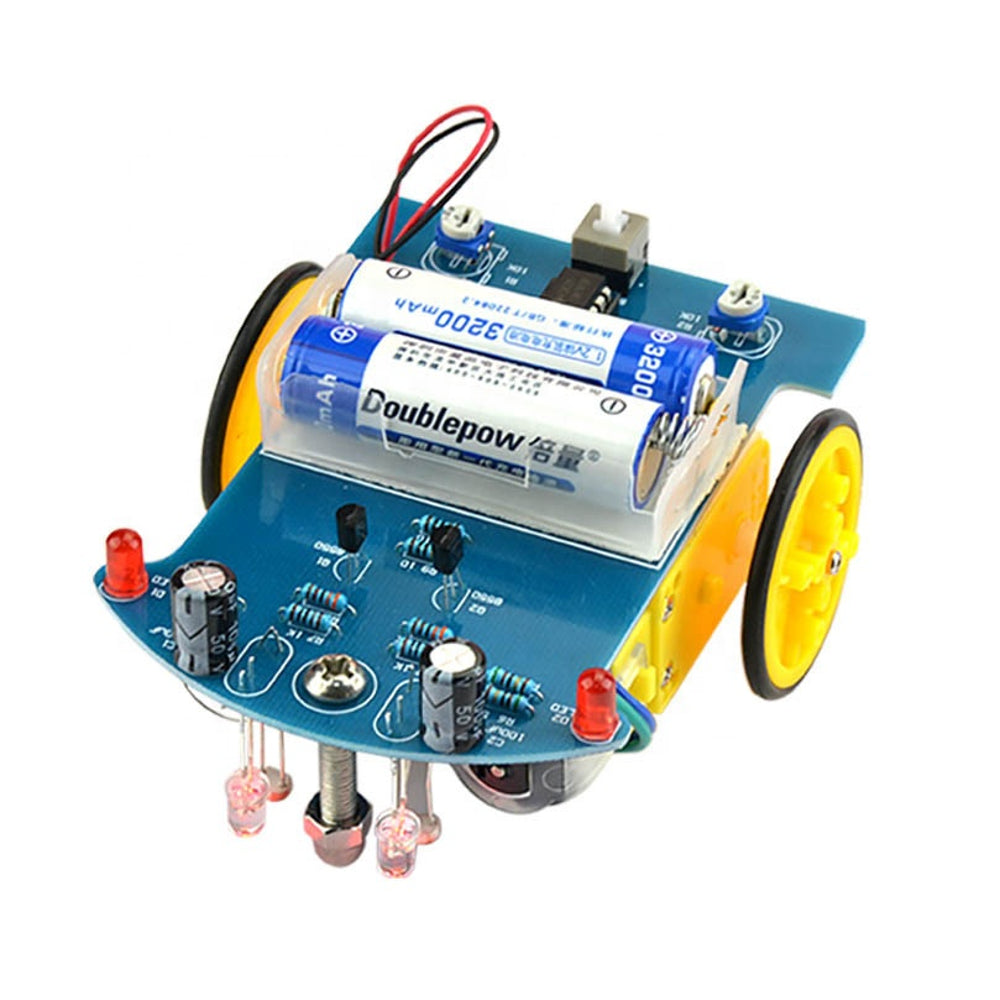
The DIY smart tracking robot car kit is an introductory electronic kit designed to help kids or electronic, enthusiasts, and novices learn about basic electronic basics knowledge like soldering and simple circuits(photoelectric sensor circuit, voltage comparator, motor driving,ir sensor, C51 MCU) The smart kit is designed based on the principle of infrared sensor and light reflectivity difference when the light emitting on the white and black items, The red LED emits the red light, then the light will be reflected to the photoresistor, the circuit will detect the resistance to detect if the car on the white area and to regulate its running direction automatically. There is no programming involved, and all of the soldering is beginner-friendly, making it perfect for budding electronic enthusiasts.
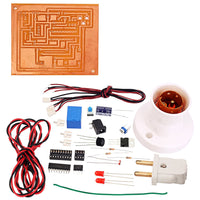
Easy to make, we do not supply you with a manual, instead, we supply you some assembly steps and a schematic.
Step 1 : Part of the circuit welding : This part is relatively simple, according to the principle of welding the original height from low to high as the welding sequence. First, we should solder eight resistors, do not forget to use a multimeter to confirm their resistance. Some other polar components, such as triode, led lights, electrolytic capacitors, etc.. These components need to refer to our picture for the direction of welding, welding capacitors, and the short pin is negative. When welding the LED, the long pin is positive. Note that the welding time can not be too long, which may burn the components, D4, D5, R13, and R14 can be temporarily not welded, integrated circuit chip can also be temporarily not inserted into the base.
Step 2: Mechanical assembly: First of all we need to use screws and nuts to fix the caster on the PCB board, and then paste the battery box on the PCB board through the double-sided adhesive, the battery box on the wire through the reserved hole and then welded to the PCB board, red line connect to the + 3V power supply, yellow line link to grounding, then we need to assemble the wheels, first connected the fixed hole to the paddle of the motor, and then fixed with a screw to prevent the wheels off, finally need to have two wheels with the motor to affixed to a fixed position on the PCB board. Finally, the wire of the motor is also welded to the fixed position on the pcb board.
Step 3: Install the photoelectric circuit : Install the photoresistor and the light-emitting diode on the opposite side of the PCB, that is, at the bottom of the car’s front, keep the ground distance of about 5mm, and keep the resistance and the distance between the diodes is about 5mm, and finally the power test.
Step4: Car debugging : Plug the two AA batteries into the battery box, and then turn the switch to the “on” position, the car should be kept moving forward, this time if you hold the left of the photosensitive resistor, the car on the right side of the wheel should turn, if you hold the right of the resistor, the left side of the wheel should be rotated, if the car has been running back, then as long as exchange of the wire of two motors at the same time, if only one side of the back, then only need to exchange the wire of backside.
NOTE : Kit does not include batteries.
Hands-On Learning Experience: Engaging and Interactive The Intelligent Tracking Car DIY Kit offers a hands-on learning experience that will captivate your imagination. As you assemble the components and explore different sensor technologies, you'll develop a deeper understanding of how intelligent tracking cars operate. Customize the design, experiment with tracking algorithms, and observe the fascinating behavior of the car as it autonomously follows a line or object.
Explore Robotics and AI: Unlock the Future With the Intelligent Tracking Car DIY Kit, you'll delve into the world of robotics and artificial intelligence. Learn about sensor technology, computer vision, and the programming principles behind intelligent vehicles. Gain a deeper appreciation for the role of AI in automation and the potential it holds for the future. Explore the various components of an intelligent tracking car and understand how they work together.
Promote STEM Education: Hands-On Learning and Exploration The Intelligent Tracking Car DIY Kit promotes STEM education through hands-on learning and exploration. Engage in the practical application of science, technology, engineering, and mathematics as you build and program your intelligent tracking car. Develop critical thinking skills, logical reasoning, and problem-solving abilities while exploring the fascinating world of robotics and AI. Inspire future engineers and innovators with this educational tool.
Nurture Creativity and Innovation: Inspire Young Minds The Intelligent Tracking Car DIY Kit nurtures creativity and innovation. Customize your car's design, experiment with tracking algorithms and programming logic, and explore modifications to optimize performance. As you witness the car autonomously following a line or object and observe the principles of robotics and AI in action, you'll be inspired to think critically, analyze data, and develop innovative solutions. Encourage a love for engineering, scientific inquiry, and creative problem-solving.
-23%


Specification
Description
Unleash the Power of Intelligence with the Intelligent Tracking Car DIY Kit : Embark on an exciting educational journey into the world of robotics and artificial intelligence with the Intelligent Tracking Car DIY Kit. This captivating kit allows you to build your very own intelligent tracking car while exploring the principles of sensors, algorithms, and programming. Brace yourself for an engaging and interactive adventure as you assemble, experiment, and witness the incredible capabilities of intelligent vehicles.The DIY smart tracking robot car kit is an introductory electronic kit designed to help kids or electronic, enthusiasts, and novices learn about basic electronic basics knowledge like soldering and simple circuits(photoelectric sensor circuit, voltage comparator, motor driving,ir sensor, C51 MCU) The smart kit is designed based on the principle of infrared sensor and light reflectivity difference when the light emitting on the white and black items, The red LED emits the red light, then the light will be reflected to the photoresistor, the circuit will detect the resistance to detect if the car on the white area and to regulate its running direction automatically. There is no programming involved, and all of the soldering is beginner-friendly, making it perfect for budding electronic enthusiasts.
Easy to make, we do not supply you with a manual, instead, we supply you some assembly steps and a schematic.
THE ASSEMBLY STEPS
Step 1 : Part of the circuit welding : This part is relatively simple, according to the principle of welding the original height from low to high as the welding sequence. First, we should solder eight resistors, do not forget to use a multimeter to confirm their resistance. Some other polar components, such as triode, led lights, electrolytic capacitors, etc.. These components need to refer to our picture for the direction of welding, welding capacitors, and the short pin is negative. When welding the LED, the long pin is positive. Note that the welding time can not be too long, which may burn the components, D4, D5, R13, and R14 can be temporarily not welded, integrated circuit chip can also be temporarily not inserted into the base.
Step 2: Mechanical assembly: First of all we need to use screws and nuts to fix the caster on the PCB board, and then paste the battery box on the PCB board through the double-sided adhesive, the battery box on the wire through the reserved hole and then welded to the PCB board, red line connect to the + 3V power supply, yellow line link to grounding, then we need to assemble the wheels, first connected the fixed hole to the paddle of the motor, and then fixed with a screw to prevent the wheels off, finally need to have two wheels with the motor to affixed to a fixed position on the PCB board. Finally, the wire of the motor is also welded to the fixed position on the pcb board.
Step 3: Install the photoelectric circuit : Install the photoresistor and the light-emitting diode on the opposite side of the PCB, that is, at the bottom of the car’s front, keep the ground distance of about 5mm, and keep the resistance and the distance between the diodes is about 5mm, and finally the power test.
Step4: Car debugging : Plug the two AA batteries into the battery box, and then turn the switch to the “on” position, the car should be kept moving forward, this time if you hold the left of the photosensitive resistor, the car on the right side of the wheel should turn, if you hold the right of the resistor, the left side of the wheel should be rotated, if the car has been running back, then as long as exchange of the wire of two motors at the same time, if only one side of the back, then only need to exchange the wire of backside.
NOTE : Kit does not include batteries.
Hands-On Learning Experience: Engaging and Interactive The Intelligent Tracking Car DIY Kit offers a hands-on learning experience that will captivate your imagination. As you assemble the components and explore different sensor technologies, you'll develop a deeper understanding of how intelligent tracking cars operate. Customize the design, experiment with tracking algorithms, and observe the fascinating behavior of the car as it autonomously follows a line or object.
Explore Robotics and AI: Unlock the Future With the Intelligent Tracking Car DIY Kit, you'll delve into the world of robotics and artificial intelligence. Learn about sensor technology, computer vision, and the programming principles behind intelligent vehicles. Gain a deeper appreciation for the role of AI in automation and the potential it holds for the future. Explore the various components of an intelligent tracking car and understand how they work together.
Promote STEM Education: Hands-On Learning and Exploration The Intelligent Tracking Car DIY Kit promotes STEM education through hands-on learning and exploration. Engage in the practical application of science, technology, engineering, and mathematics as you build and program your intelligent tracking car. Develop critical thinking skills, logical reasoning, and problem-solving abilities while exploring the fascinating world of robotics and AI. Inspire future engineers and innovators with this educational tool.
Nurture Creativity and Innovation: Inspire Young Minds The Intelligent Tracking Car DIY Kit nurtures creativity and innovation. Customize your car's design, experiment with tracking algorithms and programming logic, and explore modifications to optimize performance. As you witness the car autonomously following a line or object and observe the principles of robotics and AI in action, you'll be inspired to think critically, analyze data, and develop innovative solutions. Encourage a love for engineering, scientific inquiry, and creative problem-solving.
Bullet Points
- Great School Science Project : Smart robot car is the most widely used in school for helping students to learn about the soldering project knowledge of automatic control, voltage comparator, motor drive circuit, mechanical structure, electronic basis skills, the principle of sensor, automatic control, soldering skill and so on.
- Easy Assembly: The operating principle is provided as product pictures shown and we provide PDF manual for you. The connection that was clearly mapped and labeled on the board makes it easy to assemble. It's a great first kit for any STEM student, kids, beginners and hobbyist. No programming is required.
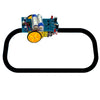
- Its Principle: As the light reflectivity is different when the light is emitting on the white and black items. It uses the photoresistor to tell if the smart car is on the right way or not. Smart tracking car can discriminate the direction automatically that it can run freely along the black tracking line.
- Design Your Runway: You can also use the 1.5~2.0 cm black electrical tape directly on the ground to design the complex runway. It would be even more fun!
Physical Attributes
- Dimensions (cm) L x W x H : 20.5 X 16 X 5
- Weight (gm): 143
Features
- Using photosensitive resistance devices, high sensitivity, and stable performance.
- Complete smart tracking line car kit, easy to install.
- DC motor with gear reduction, easy to control.
- It is widely used in experiments, industry, school, electronic DIY,robots, remote control cars etc.
Advantages
- Engaging and Interactive Experience: Unleash your curiosity and explore robotics and AI.
- Explore Robotics and AI: Learn about sensors, algorithms, and programming.
- Promote STEM Education: Hands-on learning and exploration.
- Nurture Creativity and Innovation: Inspire young minds.
Package Includes
- 1 x Intelligent Tracking Car DIY Kit
Related items


₹ 399.00
₹ 499.00


₹ 449.00
₹ 599.00


₹ 399.00
₹ 549.00